
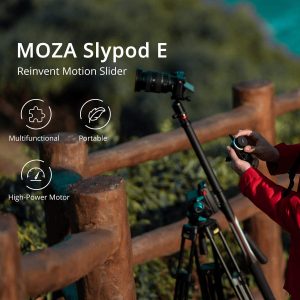
The Moza Slypod seemed like a gimmick to me the first time I saw it. The idea of a slider and a monopod all in one was hard for me to latch onto. After a couple years of not finding a good budget slider to use for my videos, I decided to give this weird Slypod a try. I have to say, I was pleasantly surprised by how well this Slypod performed. The uniqueness of the Slypod allows me to be able to get some very creative shots. This 2 in 1 Slypod has quickly become my go to for creating smooth B Roll shots.
Moza Slypod Design
The Slypod comes in a nice sturdy zippered case. The case contains:
- The Moza Slypod main body
- Quick release adapter for the ball head
- An adapter for the handle
- Handle
- USB C charging cable
- Tripod feet

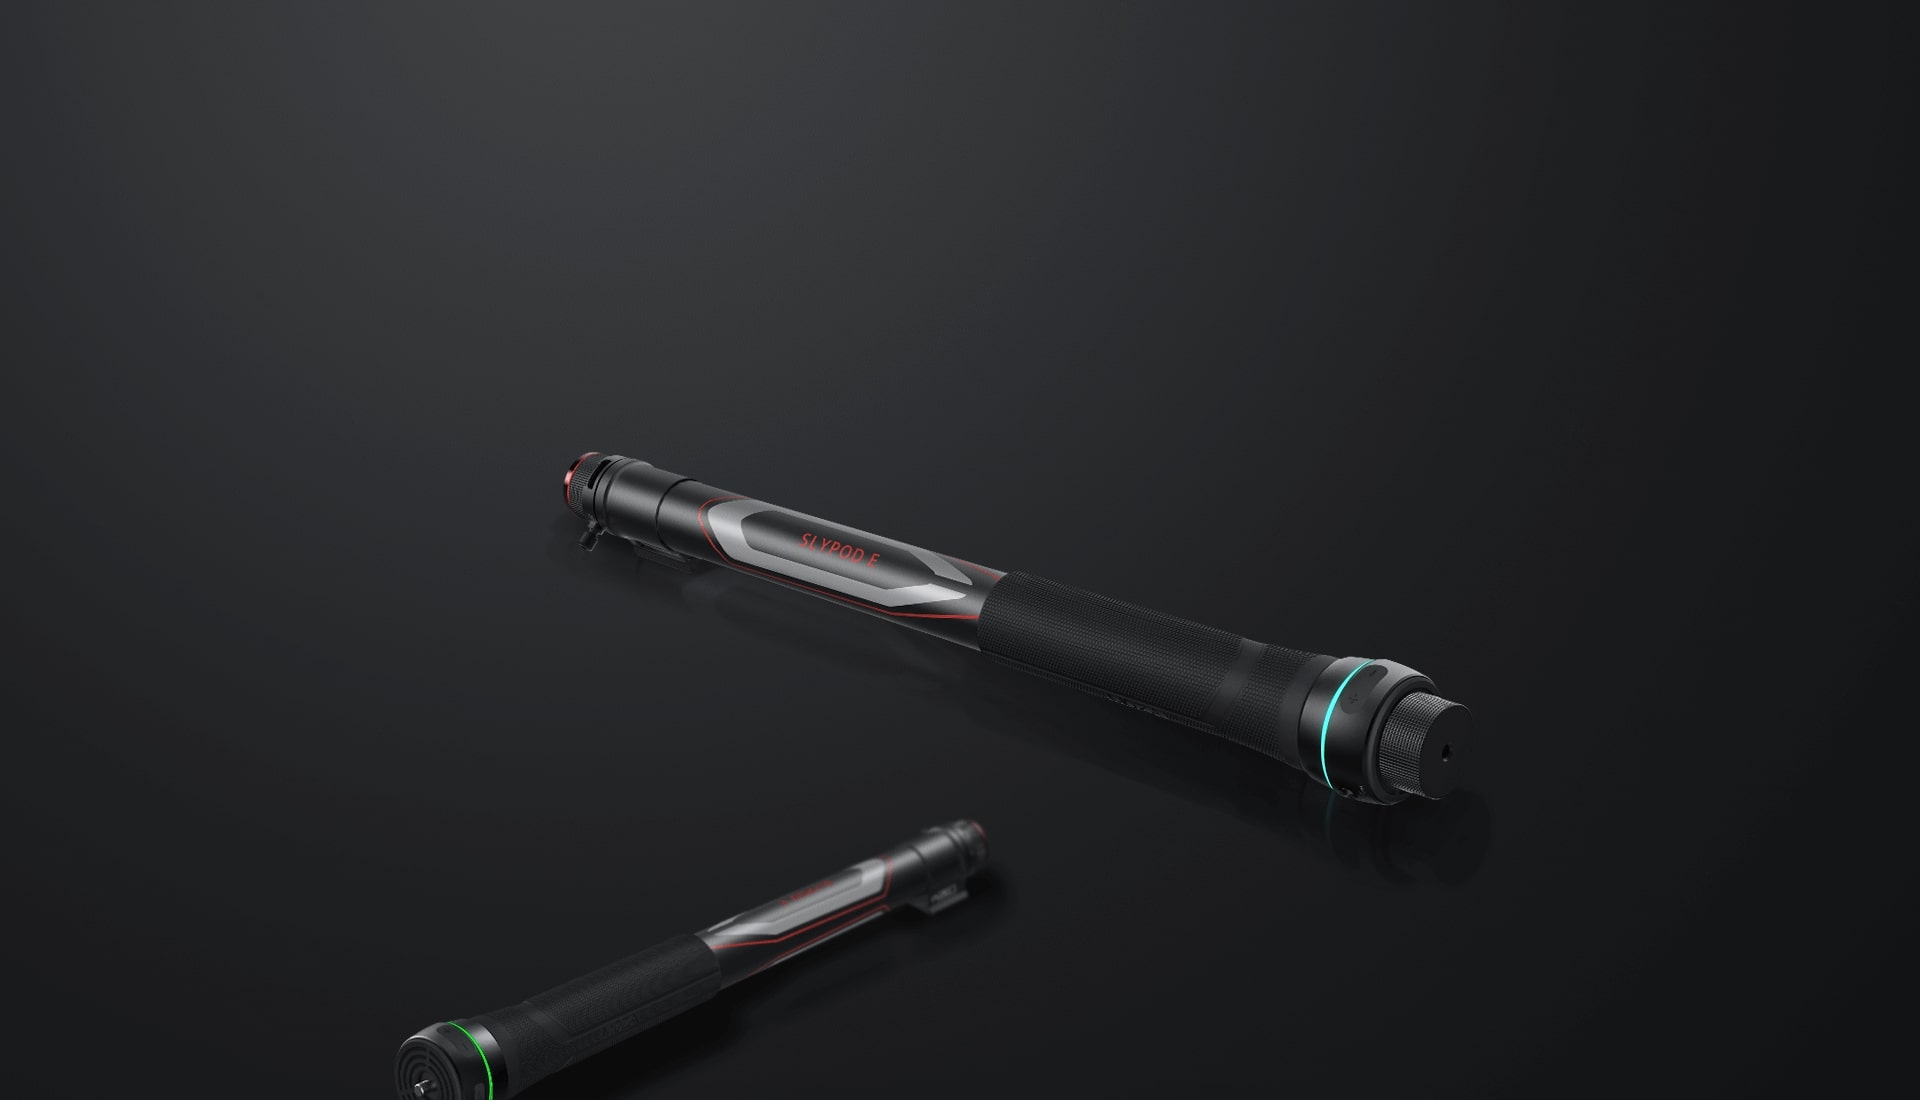
The body of the Slypod is very nicely designed. It can extend 16 inches for a max length of 39 inches. The body has a built in Arca Swiss quick release plate for easy tripod mounting. There’s also a rubber “Moza” branded grip area towards the bottom of the Slypod for easy handling. You can increase the grip area of the Slypod by attaching the included handle to the bottom of the Slypod. Tripod feet can also be attached to the bottom of the handle to allow for monopod use.
Moza Slypod Features
Slider & Monopod Modes
When the Slypod is mounted onto a tripod horizontally, it can function as a very effective slider. The movement of the slider is very smooth and doesn’t produce any jitters during the motion. The Slypod comes in at about 2 lbs and has a 19.8 lbs vertical payload and an 8.8 lbs horizontal payload.
The 19 lbs vertical payload allows you to be able to load up a decent sized camera onto the Slypod. I was a bit nervous using a zoom lens on this Slypod, but with some careful monitoring it was able to safely handle my 70-200 lens. Make sure that you have your tripod feet properly lined up (one foot facing the same direction as your lens) to prevent any forward tilt.
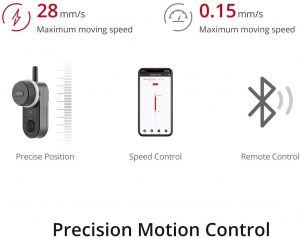
Moza App
The Slypod can be controlled via two buttons on the base of the slider or via the Moza app. The Moza app has been my favorite method of controlling the Slypod, because it’s very responsive and simple to use. You can control the slider by simply dragging a button on the app to your desired location or you can set specific paths for the slider to follow. Setting the path and speed of the slider motion was refreshingly simple while using the app. It took no time to go from unboxing to getting awesome footage with this Slypod.
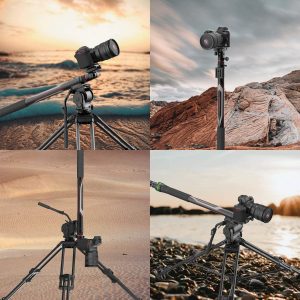
Moza Slypod Creative Shots
Besides being a unique tool, the Slypod opens the door for some fun and creative shots. Some of my favorite shots to get with the Slypod are: the vertical rise, the overhead slide and the dolly in.
[embedyt] https://www.youtube.com/watch?v=6l8F-UZCLxc[/embedyt]
Vertical Rise
The vertical rise is a simple shot but is very difficult to get without something like the Slypod. This shot reveals your subject with a vertical motion from the Slypod. To get this shot,
- Place your subject where you’d like it to be in the final frame.
- Set an object in the foreground to create a little more interest in the shot.
- Place the Moza Slypod next to your subject in monopod mode.
- Set and execute a path to slowly raise your camera, revealing the subject with a vertical motion.
Overhead Slide
The overhead slide is fantastic for getting a unique view of a product/flat lay. This shot slides your camera over your subject and creates a moving overhead view. To get this shot,
- Lay your product/subject in a creative flat lay.
- Setup your Slypod horizontally on a tripod over your flat lay. Make sure that your camera is facing down towards your product.
- Set a path on your Moza app to move the Slypod slowly over your flat lay.
Dolly In
The final shot is the traditional dolly in. This move is so simple to perform using the Slypod. To get this shot, simply
- Setup your camera on the Slypod facing forward.
- Mount your Slypod onto a tripod horizontally.
- Set a path on the Moza app to move the slider forward into your subject.
Moza Slypod Problems
As good as the Slypod is, there are a few problems that I came across while shooting. The problems aren’t major but they’re good to know if you’re considering this Slypod.
Short Length
The first issue is the length of the Slypod. When fully extended, the Slypod is not as tall as your typical monopod. I would say it’s about half the length of a standard monopod. This becomes an issue when you’re trying to record B Roll of yourself and need some eye level shots. I am not a super tall person (at about 5′ 6″) and this Slypod doesn’t even come up to my belly button when fully extended. You can easily work around this limitation by placing it on top of a platform to make up for the lack in length.
[embedyt] https://www.youtube.com/watch?v=WolqJSZdbjk[/embedyt]
Vertical Stability
The second issue that I noticed is the lack of vertical stability. When I had my Canon EOS R6 mounted in monopod mode, the Slypod had some wobble as it started and finished the vertical motion. I think this lack of vertical stability can be attributed to the use of an adapter between the tripod legs and the base of the Slypod. The adapter allows for some play between the main body of the Slypod and the tripod feet, which causes the wobble.
Having a thicker more sturdy pole would increase the weight of this Slypod, but could also help alleviate this wobble. Thankfully, this didn’t have a huge impact on the final footage because the wobble occurred at the start and finish of the motion, so it was easy to edit out in post.
[embedyt] https://www.youtube.com/watch?v=IyP03UemkNU[/embedyt]
Overall, this Moza Slypod has been a great addition to my filmmaking kit. It allows me to take my creativity to the next level and stretch my limits in terms of what I can capture. The Slypod is not really a slider and it’s not really a monopod. It’s truly a beautiful combination of both. Although it has a couple drawbacks, they’re not major deal breakers for this model. So if you’re looking for a useful tool to add to your arsenal, be sure to give this Slypod a look!
You can get the Slypod here and also help support the site!