
Camera Screen Recorder for your Videos
[embedyt] https://www.youtube.com/watch?v=yZl_nFMPqsM[/embedyt]
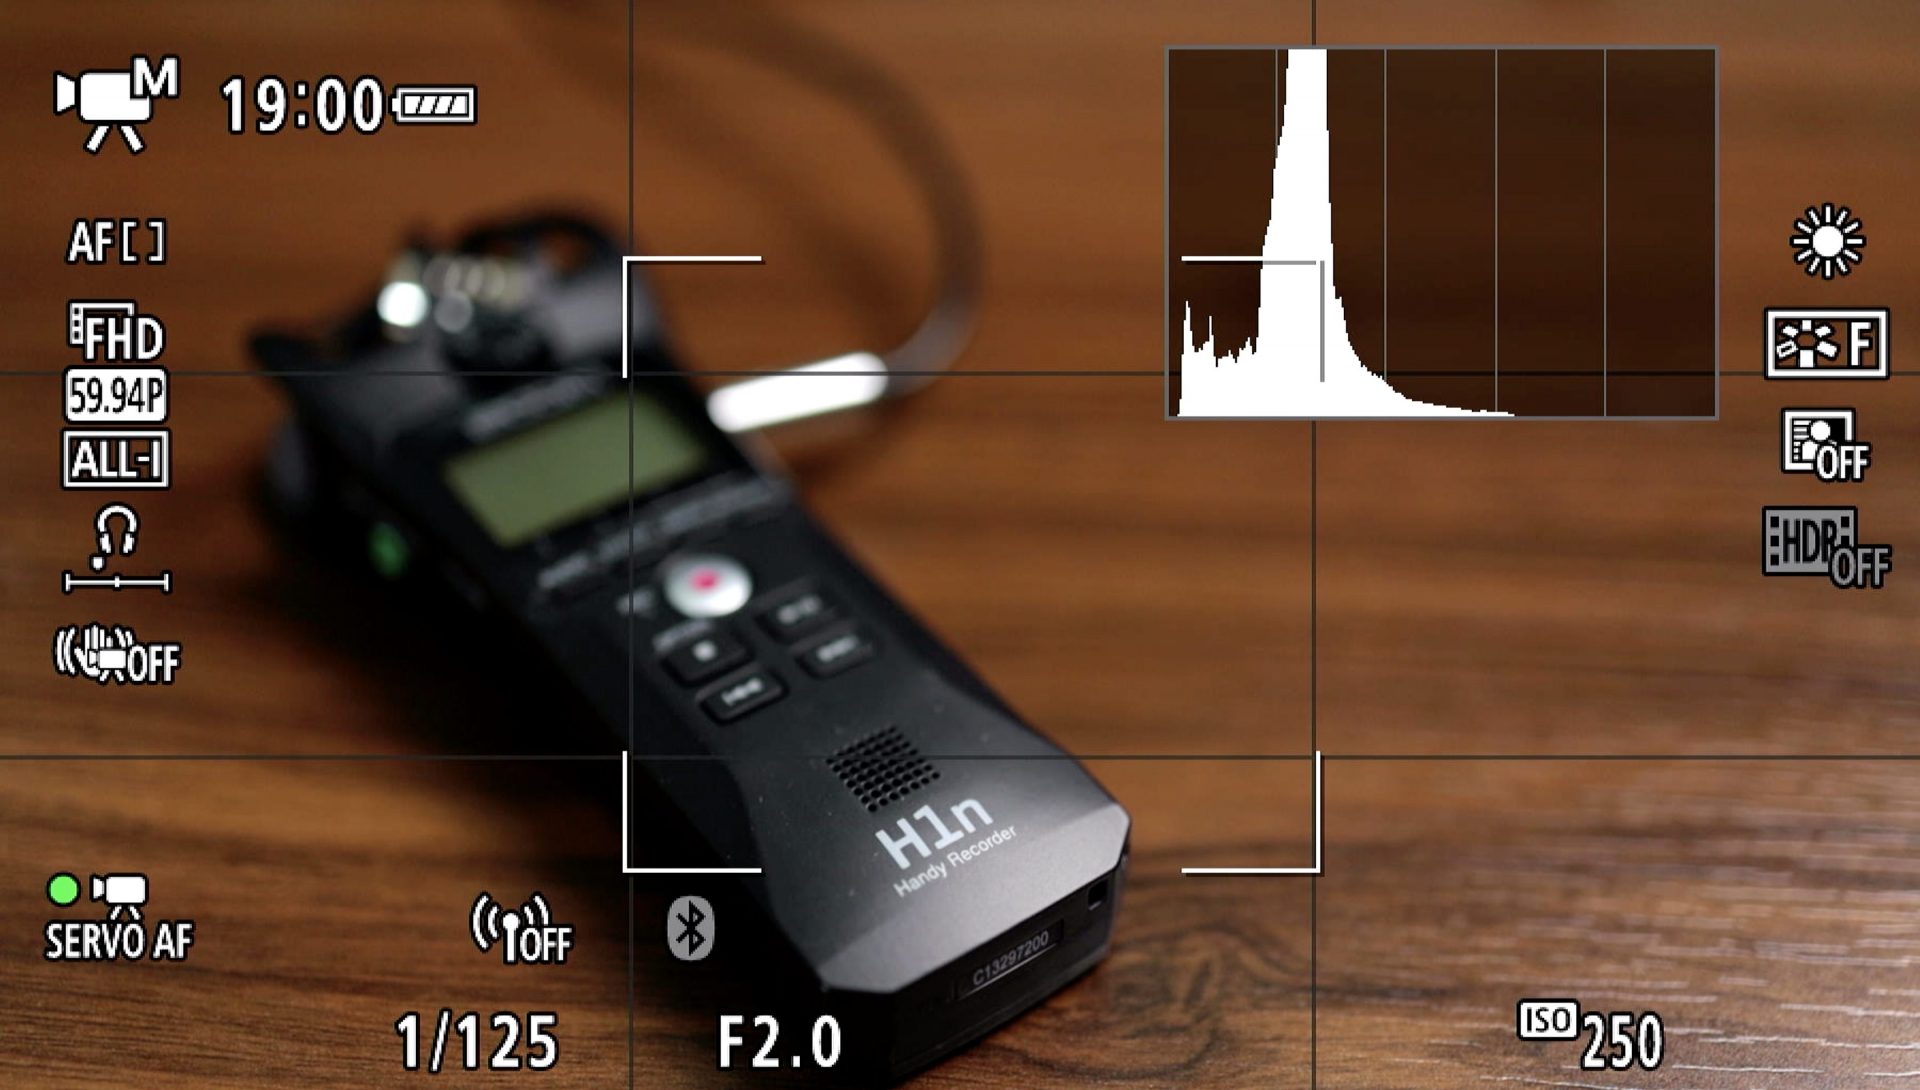
A camera screen recorder is very useful when you need to display camera settings in your video. Whether it’s YouTube or creating a course, being able to record your camera screen is very handy. Today we’re going to walk through how to record you camera screen and the tools that you’ll need to do it. Let’s start off by covering the tools you’ll need.
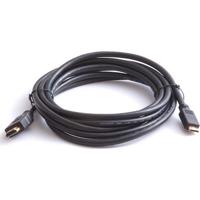
Tool 1: HDMI Cable for Your Camera
The first tool you’ll need is a HDMI cable for your camera. All cameras are different and will utilize different ports for outputting video. Some cameras use micro HDMI while others use mini HDMI. Check the port on your camera and buy the appropriate HDMI cord for your camera. You can find HDMI cables here or at your favorite tech store.
Tool 2: HDMI to USB Capture Card
The next tool is a HDMI to USB capture card. The capture card is the heart of this process. The card allows you to be able to connect your HDMI to any regular USB port on your computer. The video card also allows you to easily process the footage from your camera, into your computer. These cards are pretty cheap and you can pick one up here.

Steps for Starting Camera Screen Recorder
Now that we have the tools to set this up, let’s walk through the steps to start recording your screen.
Step 1: Connect your HDMI Cable
The first step in this process is to connect your HDMI cable to your camera. Find the appropriate port on your camera and connect the Mini HDMI end of the cable. Once you’ve completed that, connect the large HDMI end into your video capture card.
Step 2: Connect Video Capture Card
The next step is to connect your video capture card into your computer’s USB port. Once you’ve made that connection, go ahead and turn on your camera to begin projecting footage.
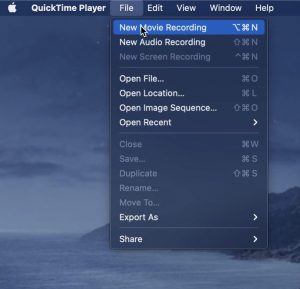
Step 3: Open Video Recording Software
Now that your camera is on and the connections are in place, turn on your computer’s video recording software. Since I am a Mac user, I utilize Quicktime player for this recording. For windows, you may need to download some software such as OBS in order to record your camera input.
Within Quicktime, select new movie recording from the menu to start a new session.
From there, change the video source to USB video in order to pull in the footage from your camera.

Once you see the footage from your camera, hitting the record button will now record the footage from your camera. This allows you to be able to walk through tutorials and show your camera settings in your YouTube video or course.

Hope this post helped you out with your video project! If you need anymore tips and reviews, be sure to check out our other blog posts here on CachedOut!